Thursday, June 16, 2016

Jazzing Up the Classroom

Hello, curious mind!

This post will show you some of the fun decorations I've made for my classroom.  Why is it that I always find ideas that are almost perfect?  I feel like I also have this crazy idea that I can make things for less than it would cost me to make them myself.  Some of them probably even each other out - save $5 here, spend $3 more there... oh well!  I hope you can find a few ideas that spark the creative itch in you!

Let's get started!


-Motivational Poster Frames-
The top frames are simply posters that I found on Pinterest, Teachers Pay Teachers, or in some other depths of the internet that I printed using high-quality color ink on my printer.  Then, I put them in document frames from The Dollar Tree and made ribbons to hang them using my hot glue gun.  I'm planning on hanging them with Command hooks.  The frames on the bottom are also from The Dollar Tree and the Dr. Seuss sayings were $1 from the Target One Spot.  I put used grey construction paper as a backing.


-Artwork-
The canvases on the top left are pretty self-explanatory.  I bought gold and silver canvases (they were on clearance at Hobby Lobby) and $1 totes at Target.  You just cut the totes apart (you'll only need one side of them), use a staple gun to secure them to the back of the canvas, and use thumbtacks as a decorative nail head.  I made the pompoms using decorative tissue paper from The Dollar Tree and an accordion fold technique (search Pinterest, there are tons of tutorials). I also made honeycomb pompoms using glue and layers of square papers, but I do not recommend making those.  They take forever and your time is much more valuable.  Keep your eyes out at stores like Tuesday Morning, The Dollar Tree, and TJ Maxx for random ones that they get in.  $1-2 each is a really good price.  The bottom picture shows a saying that I cut using my Silhouette with a design from their store.  I used different colors of decorative cardstock and I plan on gluing them to a grey cardstock backing and putting it into a document frame from The Dollar Store to hang near my desk.


-Story Dice-
I'm sure that you've seen story starting dice and fawned over how cute they are.  Well, I'm here to tell you not to buy them!  They're incredibly expensive.  Instead, I bought a pack of blank dice on Amazon and used an ultra-fine Sharpie to draw pictures on myself.  This also let me choose what went on each die.  I found pictures of different ones online that I liked and tried to replicate the drawings.  I'd suggest sealing the designs with nail polish or a very light coat of clear spray paint (you don't want it to bleed) before putting them in your classroom.
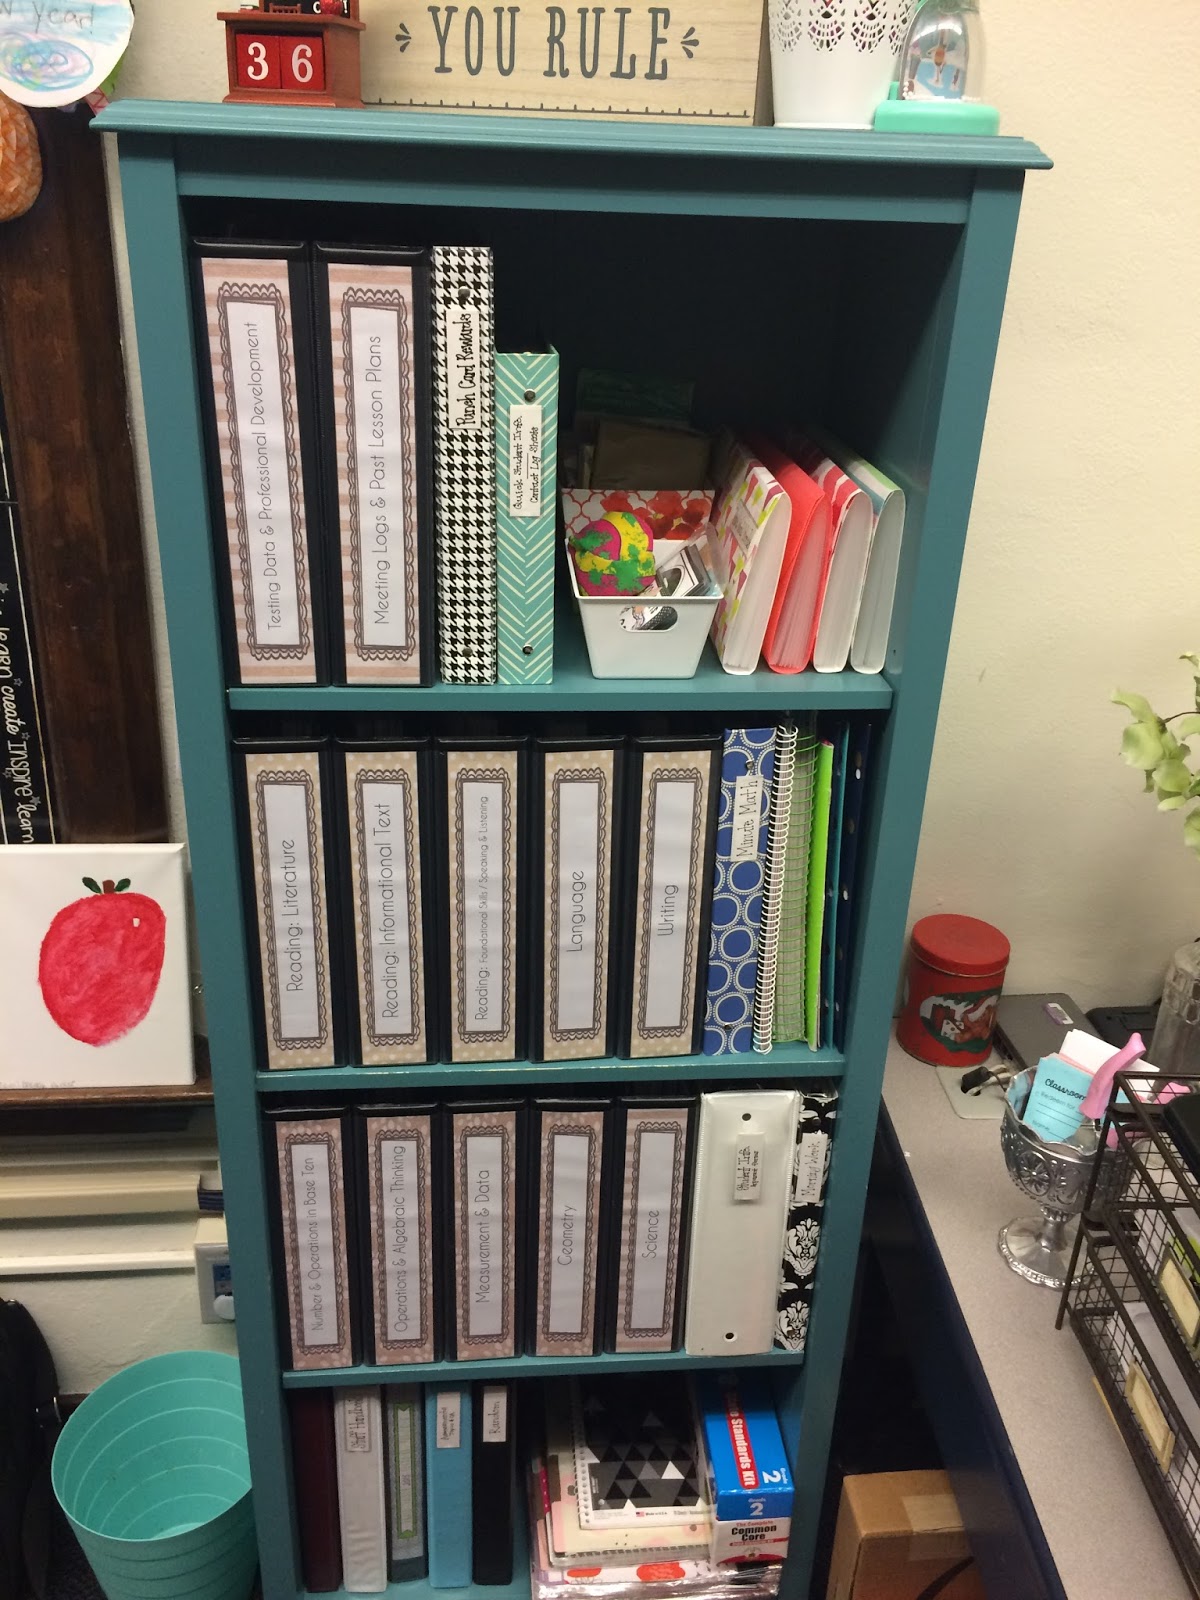


-Silver Accents-
I wish I had taken pictures before spray painting these!  They really made a transformation and helped to bring my classroom colors together (silver, mint, and coral).  The filagree is wooden and the owl was an ugly old ceramic piece and they're both used in my classroom library now.  The owl is even sitting on a book that has the word 'knowledge' on the spine!  The cup in the top row is used to hold my behavior coupons that students get when they've had 10 green days or above and it also holds my special butterfly hole puncher.  I haven't found a use for the ruffled cup yet... I'm still thinking on it.  Finally, the bowl is used for extra copies of papers that are sent home and is sitting above the student mailboxes.


-Miscellaneous-
At the start of the year, I made birthday bags for each student and filled them with objects from the Dollar Tree (to keep it fair and gender neutral).  Each bag had a box of stickers, some confetti, a piece of bubble gum, a pixie stick, a fun birthday pencil, and a curly straw.  They cost me about 50 cents per bag and the students always looked forward to having their birthday bag waiting for them on their special day.  I kept them in one of my cabinets and it made it so easy to pull one out quickly!  I also learned that it's important to tape the bottoms of marker and crayon boxes with duct tape when you want students to share them in a caddy at each table. I found cute duct tape at the Dollar Tree and taped the bottoms and then the sides.  I made them and brought them back after winter break and they lasted the entire 2nd half of the school year, so it was definitely worth the investment of my time. 

That's all for today!  What did you do this year that was a major time saver?  Did you have any fun Pinterest-inspired crafts?  Post your ideas in the comments below.

Until next time,
Ms. Frisch

Bucket Filler, Schedule, and Clip Chart

Hello, friends!

Today I'll show you the front end of my classroom.  It has a few of the most important areas in the entire room.  Enjoy!

-Bucket Filling Center-
Right at the start of the year, I read the book Have You Filled a Bucket Today?: A Guide to Daily Happiness for Kids by Carol McCloud.  The book explains people's feelings and self-worth as an 'invisible bucket' that every person carries around.  It really helps the students to think about how their action and words affect others.  After reading this, I introduced students to our bucket filling center.  Up top, there is a chevron poster that I made and laminated and an example bucket slip held up with washi tape.  I also used a basket from The Dollar Tree and hang it up using Command hooks.  The basket holds 'bucket slips', which are pieces of paper that say "I'd like to fill ___'s bucket by saying _____. From ___." The students fill them out and then I have a small wire basket on my desk that they put them in to be checked before sorting them.  The helper of the day sorts all of the checked slips at the end of the day.  I allow students to write whatever they would like on the slips as long as they are positive and not hurtful in any way.  Occasionally, I've had to talk to students about writing more in-depth slips instead of writing 10 to their best friend every day saying simple sayings such as, "you're nice".  During pack-up on Friday afternoon, I call students to line up individually and hand them their bucket slips (glancing at each one to look for my check in a colored pen).  It's incredibly simple and works very well.  It's a great way to help students build self-esteem, learn how to compliment others and look for positive actions to mention, and to give them something to look forward to on Friday afternoon (and to take home to parents, which never hurts).


-Schedule-
I purchased the chart from Amazon and the schedule cards from Teachers Pay Teachers and edited a few of the cards to match my terminology or scheduling needs.  It really helps to cut down on students asking me about when things are.  I made sure to teach time early so that  we could work on the skill repeatedly throughout the year.  It really helped to have the digital and analog clocks both on the schedule and then they could compare it to our clock (that is only about 5-10 feet to the right of the schedule area).  Having the cards in order also helped students who couldn't tell time yet because they could at least see the order, even with pictures.  I keep cards that change in the same slot (such as free choice/P.E./art/library/music) so that they can be rotated weekly.  There is also a pocket at the bottom that I use to hold additional cards (such as assemblies, guest speakers, testing, etc.).

-Behavior Clip Chart-
My district uses a behavior system called PBIS.  I personally love that students all start on a neutral ground and then have the ability to clip up or down depending on their actions.  It also makes the teachers more accountable for awarding good behavior.  It's nice that students already know how they system works if they were in our district, so behavior systems are consistent and well understood by students and parents at the start of each year.  The chart on the left was the original chart that was made of construction paper and laminated and left in my classroom for me.  I decided that it needed an upgrade during the year and found a very cute one online for free!  I'll try to find the link for you.  I printed the pages on regular printer paper, cut them down a bit, pasted them on coordinating construction paper, and then glued them all down to a thin poster board to help make it a little bit sturdier and to really keep the different colors together.  Our student monitor laminated it for me (but she had to put it through the machine three times in order to make it stick - bless her)!  I punched holes in the top corners and use push pins to hang it to the cork board behind the dotted fabric. I also made it skinnier so that students wouldn't hit the chart when they use the pencil sharpener in the morning.

That's it for today!  What behavior systems do you use in your classroom?  Leave your answers in the comment section below.

Until next time,
Ms. Frisch

Mailboxes, Calendar, and Student Work

Hello, brilliant reader!

Today I'll be showing you my mailbox center, student work board, and the calendar area.  It should be a short sweet post.  Let's get started!

-Mailboxes-
If you don't know how expensive wooden mailboxes are - pray that the teacher before you leaves them for you.  I was very lucky to have the previous teacher leave these for me.  They had cut name tag stickers with numbers on them that I had to use Goo Gone to get off.  As a temporary fix, I used binder clips and a liquid gold marker to put numbers on each box.  Unfortunately, I had 24 boxes and received a 25th student in the middle of the year, so he used the orange basked on the side, right on top of my white writing center shelf.  On top of the mailboxes, I keep a bowl with extra copies of recent papers that were sent home (I throw out old papers weekly).  I also have oldest/youngest-and-only lists that are in clear page protectors and taped to the wall.  Our school uses this system to send home papers to students so that families aren't getting multiple copies of certain papers that may only need one per family.  Having these lists taped directly above the mailboxes helps me when I need to pass them out.


-Calendar-
There is not a bulletin board on my wall here.  Instead, I used contact paper and a chalkboard-esque border (the same one from my main wall) to create a calendar area.  I bought a calendar set from a local teacher supply store and supplemented it with dry erase pages (extras from my dry erase clipboards).  Calendar supplies are kept on the top shelf of the cubbies to the right.  Each morning, the helper of the day sets up the calendar are and adds the date, changes the day of the week o the red sheet, updates the weather based on the temperature and weather predictions from our morning new show, adds a 'one' block to count up the days, and writes the date in word  and number form.   The helper of the day also gets to sit in the green chair during D.E.A.R. after lunch (which is a huge deal).  On the shelf, you can see the stacks of my teacher read-aloud books and the easel with daily poem charts.  I hope that this summer I'll be able to find a more suitable shelf, but it was my only option in order to use the shelf that used to be here for my new library.


-Student Work Area-
My original blackboards are on the left (original slate, nonmagnetic).  After finding out it was not magnetic, I knew I had to have a dry erase board.  I had a friend at work that regularly attended estate sales and happened to hear about one at a school that was closing and paid $48 for it.  Woohoo! Believe it or not, the dry erase board alone is 10 feet long!  The lovely school custodian installed it for me, although (sadly) I had to technically donate it to the school because now it's permanently mounted, so I can't take it with me if I leave.  In this picture, you can see a few student magnetic hooks as well and a few of my dry erase supplies and magnetic spinners.


 The magnets were from Target (but I strongly suggest pulling the magnets off first and super gluing them back on, they'll fall off easily otherwise).  I cut out small circles from repositionable contact paper, measured out a grid on the board, and stuck a dot on each intersection to help them be even spaces.  Then, I put a magnetic clip on top of each dot.  That helped the students to know where their clips went when they put their work back.  The "Now Showing" banner was made using different clipart I've purchased and piecing it together using Microsoft Office Publisher in order to print it using multiple pages.  The banner altogether is roughly 5-6 feet long and is posted directly above the student work portion of the dry erase board.  The students are free to change out their work on their personal magnet space (each one has their own) whenever they wish.  This makes them accountable and proud of the work they choose to display.  My only rule was that it had to be something that was completed in class or in one of their specials (art, library, etc.).

That's all for now!  What did you like/dislike about the post?  What are some ways that you help students build self esteem in your classroom?  Write your answers in the comments below.

Until next time,
Ms. Frisch

Teacher Organization

Hello, incredibly interested reader!

My organization for lesson resources and assessments has changed drastically throughout the year.  I highly suggest figuring out your organization style before entering your classroom.  Don't be a fool like me - spending hours re-doing things each year because you've changed your mind.  I know that it will still continue to be tweaked and fine tuned as we continue through our careers, but putting serious thought and consideration at the start could save you time in the future.

Here's my journey.

First Try 

-Google Drive for EVERYTHING-
This is great to use when you're separating items you've purchased or downloaded by subject area, but can't do much more than that, in my opinion.  The issue is that many times you'll purchase bundles or materials that cover more than one standard and you won't be able to label them by standard.  Also, you'll often find yourself trying to find a specific page within a file and wondering "Which PDF was that in?"  It's definitely not fast or easy to make copies from either.  You'll have to find it, print it, and then copy it each time.


Second Try 

-Binders by subject area-

This sounds like a good idea, in theory.  I ran into trouble because some areas (like ELA) will naturally have a ton of pages - way too many for even a 3" binder!  That makes it incredibly difficult to turn to the page you need and find it efficiently.  I was grabbing any free binder from the teacher's lounge to try to separate things.  I even used page dividers to separate the pages out into domains within the different subject areas, but it still wasn't working.  I needed a new method...

*Side note - you can hang cute binder clips using small command hooks and picture hanging wire.  They're great to keep handy and are also helpful to hang stacks of bucket slips (you'll hear about those in a later post).*


Third Try 

-Binders by content standard domains-

After spending ludicrous amounts of money buying binders on Amazon, I finally had what I needed to properly organize everything!  It wouldn't have cost so much if I wasn't so picky.  It took me months to find the ones I wanted and returning a set of binders that were incorrectly marketed online before finding these.  They're heavy duty, the rings are on the back not the center spine (then you don't have to center the pages before closing), and they have a one touch easy-open tab.  Trust me when I tell you to get one touch tabs.  I use my binders daily and it's saved quite a bit of hassle.

My babies!  They're the single best decision I've made for myself in my classroom so far.  It's very easy to find my materials now and I have page dividers inside of each one breaking it up into standards as well as page marker tabs sticking out of the top of certain pages to make them easy to find (spelling test, word wall worksheets, etc.).  When I purchase things on Teachers Pay Teachers or find them online, I print them off, write their content standard reference number in the top right corner with a pink pen, hole punch it, and immediately sort it into the right section.  It's an absolute life-saver for my classroom.

I hope you picked up a few tips!  How do you organize your lesson materials and assessments?  Leave your response in the comments below.

Until next time,
Ms. Frisch

Command Center

Hello, friends!

Today I'd like to show you my command center.  It has some of the materials that I use on a daily basis.
*Note: emergency posters and student names have been blocked out for security reasons.*

Let's get started!


This is what I started with when I entered my classroom - a wooden cart on wheels, my emergency posters, and some very old clipboards.  No dry erase boards in sight.  Needless to say, they definitely needed to be spruced up!


First things first, updating the clipboards to be multi-functional.  I purchased a few additional clipboards in order to transition into using only colored ones.  I only purchased colors that I already had from the previous teacher.  I used repositionable dry erase sheets that I bought of Amazon and placed them on the back of the boards.  Voila!  Clip boards and dry erase boards in one!


The finished command center!
Bottom shelf: personal chalkboards (old-school, haha) and it's where I keep my stacks of morning work packets
Middle shelf: laminated letter cards for phoneme segmentation, boxtop bin, and an orange folder with 'brain breaks'
Top: finished clip/dry erase boards on a stand from ReallyGoodStuff (it holds 24 if they're back to back), dry erase markers with pompoms to erase with that are glued onto the tops, pointer bin, sharpened colored pencils (for students to trade when theirs are dull in their desk caddy), green bin to hold any pencils/markers/crayons/colored pencils/erasers that are lost from the table caddies, my teacher electric pencil sharpener, character word of the month poster
Wall: sight word and math fact flash cards on rings (Dollar Tree) hanging on Command hooks, emergency posters, and "How I Go Home" charts (personally made) with Post-It sticky strips from The Dollar Tree to hold daily notes on changes to how students go home


That's all for now!  What did you think of it?  What organization hacks have you tried for your daily routines?

Until next time,
Ms. Frisch

Classroom Library

Hello there, knowledge-seeker!

This is my favorite post to date - my classroom library.  It's been a long road but I'm so thrilled to show you my final product (for now at least)!

 The start - I pulled in a cubbie shelf that was up for grabs in the hallway and turned it sideways to use as a temporary library shelf.  The baskets were left behind for me by the previous teacher, but didn't match my color scheme and quite a few were missing handles or had sharp, broken pieces.


This is the contact paper I mentioned in a previous post about my bulletin boards.  It was pretty simple to use and held up great throughout the year!  My main piece of advice is to cut it pretty close to size (within 1/2 inch) and then start in a corner and slowly peel it from the bottom, smoothing it down as you go using a cloth.  Using a fingernail will end up giving you very sore fingers and a credit card could end up scratching a hole in the contact paper.


I found a great file folder pocket chart on Amazon that was made of heavy canvas.  I hate the fact that it's blue, but it's functional!  It's hung using the small command hooks (they didn't even budge the entire year, even when the entire thing was filled with books).  I also added number labels that I created for each pocket.  That way, I won't have to change them each year from using student names.


 My library towards the start of the year.  Books in baskets (although they weren't organized) and succulent planters along the windowsill.  The lamp is purely decorative to make it feel more 'homey' and doesn't even have a light bulb in order to prevent fire hazards.


The start of the final transformation of the library.  I don't know about you, but every single one of my projects starts on a whim, way too late, and with chaos!  The motivation finally hit me after seeing many inspirational classroom libraries Pinterest and having a student volunteer to help me in the classroom while her mother was in a PTO meeting.  Why I thought I could sort all of my books in the hour she was there is beyond me.  I'd already entered all of my books using BookSource online and sorted them into genres there.  I was able to sort most of the books into genre piles just by looking at them, but for a few I had to reference where I'd placed them by looking them up on BookSource again.  This step took until midnight when the cleaning crew kicked me out.  Then I went home and taped my laminated genre labels to all of my book bins, printed off the coordinating book labels, and finally caught some sleep!


My gorgeous book bins!  As soon as I saw them, I snatched them up!  They're from ReallyGoodStuff and I ordered a set of 12 each of water, shell, and pebble (click here to buy them yourself).  I didn't buy the 4-packs in this case because I don't have any brown in my room, so I didn't want the 'sand' color.  I thought 36 would be enough, but I ended up with about 30 different genres.  I strongly suggest ordering more than you think you'll need.  I have a few left to expand my library with, but I'll have to order more to accommodate the books I still need to categorize at home.

The next morning, I arrived at school as early as possible to set everything up.  I grabbed a genre pile of books and placed them into their corresponding genre basket.  Then, I switched out my shelf that used to be under my calendar area with my teacher books for my old sideways cubbies.  Even though the regular shelf is shorter, it had repositionable shelves that were perfect for my book bins (from ReallyGoodStuff).  Then, I organized my genre book bins into alphabetical order and put them on the shelves.  I put my teaching books in piles on the sideways cubbies and moved that in front of the calendar area with the intention of buying a shorter shelf similar to the one below to replace it, to be used for my teaching read-aloud books next year.  One project at a time!


This is the final product!  I'm thrilled with how it looks, it's just so much more accessible to my students.  Now, they're able to find books based on their reading levels or what they're interested in.  I've noticed that my students are much less frustrated when they have independent reading time because now they have the tools that they need to find a book that they like.  Each book in the genre bins has a matching genre label that I printed on square Avery labels sheets.  They're identical to the labels on the front of the genre bins - by doing this, I made students responsible for keeping the library clean and organized (along with threats that they'd be banned from the library if they didn't treat it with respect).  The chapter books that I have multiple books from that series are in the bins with handles on top of the library.  I bought 2 of the 4-packs of their medium bins and just hid the brown bins below (click here to purchase them yourself).  The chapter books that are independent (or that I have 2 or less from that series) are in the brown bins with handles on the lower shelf.  The large aqua bin with a handle on the lower shelf has all of the Dr. Seuss books.  I purchased one 4-pack of the large bins for the Dr. Seuss books and plan to use the other 3 for my teacher read-aloud books on another shelf (click here to purchase them).  The lowest shelf has the dictionaries (yes, my students enjoy reading them during independent reading time) and a small bin with flashcards that have president or animal facts on them.

*Since finishing my library, I've purchased quite a few chapter books and ended up buying 3 more sets of the medium bins and 1 more of the large bins.  Now that I know that I needed quite a few more than I originally bought, I wish I'd just bought two 12-packs of the medium bins in order to maintain my color scheme and not have to use the brown bins.  I currently have 20 of the medium bins, with 5 of each color.  I could have had 24 bins in two colors of my choice (probably pebble and shell).  Oh well, you live and you learn!*

That's it for now!  My library is an ever-evolving organism and I'm still working on it over the summer. Much to hubby's dismay, there are two tote bins full of books that I'm working on adding to BookSource and putting genre stickers on.  I've also created nameplates for each book with my name and email to return the book if they are ever lost, which are printed on Avery address labels.  Just picture a teacher sitting at a back table putting address stickers on over 1,000 books!  Well, we know what I'll be doing all summer.

What is your classroom library like?  Are there any tips you'd like to share?  Leave your response in the comments below.

CAUTION: I do not advise completing a total library overhaul within 24 hours.  It's a horrible idea!

Until next time,
Ms. Frisch

Main Wall

Hello smarter-than-average internet browser!

In this post you'll see the magical transformation of my main wall at the front of my classroom.  Let's jump right in.


 Step 1: leaf printed fabric as a base and inspirational chalkboard trim from Target.


 Step 2: Add pompoms, handwriting guides, and a cute bunting banner from Target.  Take my advice and don't make homemade pompoms.  In theory, they save you money.  But the the honeycomb ones just aren't worth your time.  Keep an eye out at The Dollar Tree or stores like Tuesday Morning for ones that are $1-2 a piece and save your sanity.


 Step 3: The "I Can" statement banner, charts for content statements to be posted, add a boggle board (that I made, sorry!), and a chalkboard to hang the helper of the day.


Finished product: functional and cute!  I also added a great number line that I found on Amazon (it has odd and even numbers in different colors and has the word forms of each number written above it.  I also added a hundred chart up above that I used translucent colored contact paper to show the multiples of 5 and 10 to help students with skip counting.  There's also a sneak peak of my calendar area on the right and the bus pages on the left.


Thank you for stopping in today!  I hope you saw a few things that sparked ideas for you.  What are some tips and tricks that you have for your front of the room must-haves?  Leave them in the comments below.
Stay tuned!

Ms. Frisch