Hello smarter-than-average internet browser!
In this post you'll see the magical transformation of my main wall at the front of my classroom. Let's jump right in.

Step 1: leaf printed fabric as a base and inspirational chalkboard trim from Target.

Step 2: Add pompoms, handwriting guides, and a cute bunting banner from Target. Take my advice and don't make homemade pompoms. In theory, they save you money. But the the honeycomb ones just aren't worth your time. Keep an eye out at The Dollar Tree or stores like Tuesday Morning for ones that are $1-2 a piece and save your sanity.
Step 3: The "I Can" statement banner, charts for content statements to be posted, add a boggle board (that I made, sorry!), and a chalkboard to hang the helper of the day.

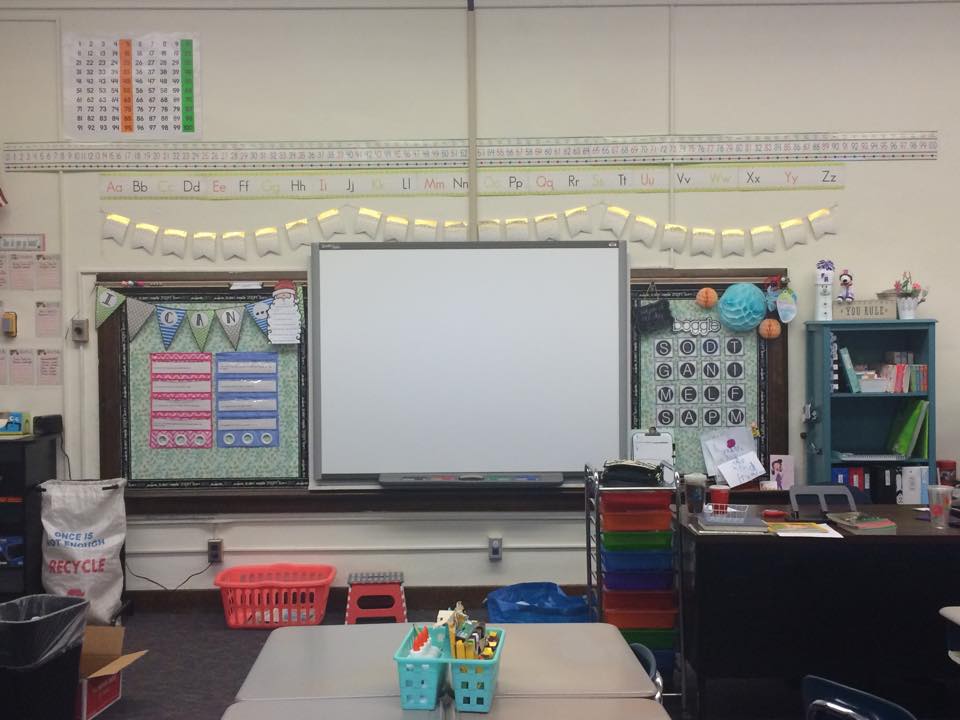
Finished product: functional and cute! I also added a great number line that I found on Amazon (it has odd and even numbers in different colors and has the word forms of each number written above it. I also added a hundred chart up above that I used translucent colored contact paper to show the multiples of 5 and 10 to help students with skip counting. There's also a sneak peak of my calendar area on the right and the bus pages on the left.
Thank you for stopping in today! I hope you saw a few things that sparked ideas for you. What are some tips and tricks that you have for your front of the room must-haves? Leave them in the comments below.
Stay tuned!
Ms. Frisch
No comments:
Post a Comment